.jpg)
Trezor.io/start - Setting Up Your Device
Welcome to the Trezor.io/start setup guide! Whether you’re a new user or setting up a new Trezor device, this step-by-step guide will help you through the entire process. Trezor.io/start is your starting point for securely setting up your Trezor hardware wallet. Follow these instructions carefully to ensure your device is ready to protect your cryptocurrency assets.
Step 1: Unboxing and Initial Setup
When you first receive your Trezor device, head over to Trezor.io/start. Unbox your device, ensuring that the security seal is intact. If the seal is broken, do not proceed with the setup and contact Trezor support immediately. Connect your Trezor to your computer using the provided USB cable.
Step 2: Installing Trezor Bridge
Next, you’ll need to install Trezor Bridge, a software that allows your Trezor device to communicate with your computer. Visit Trezor.io/start to download and install the software.
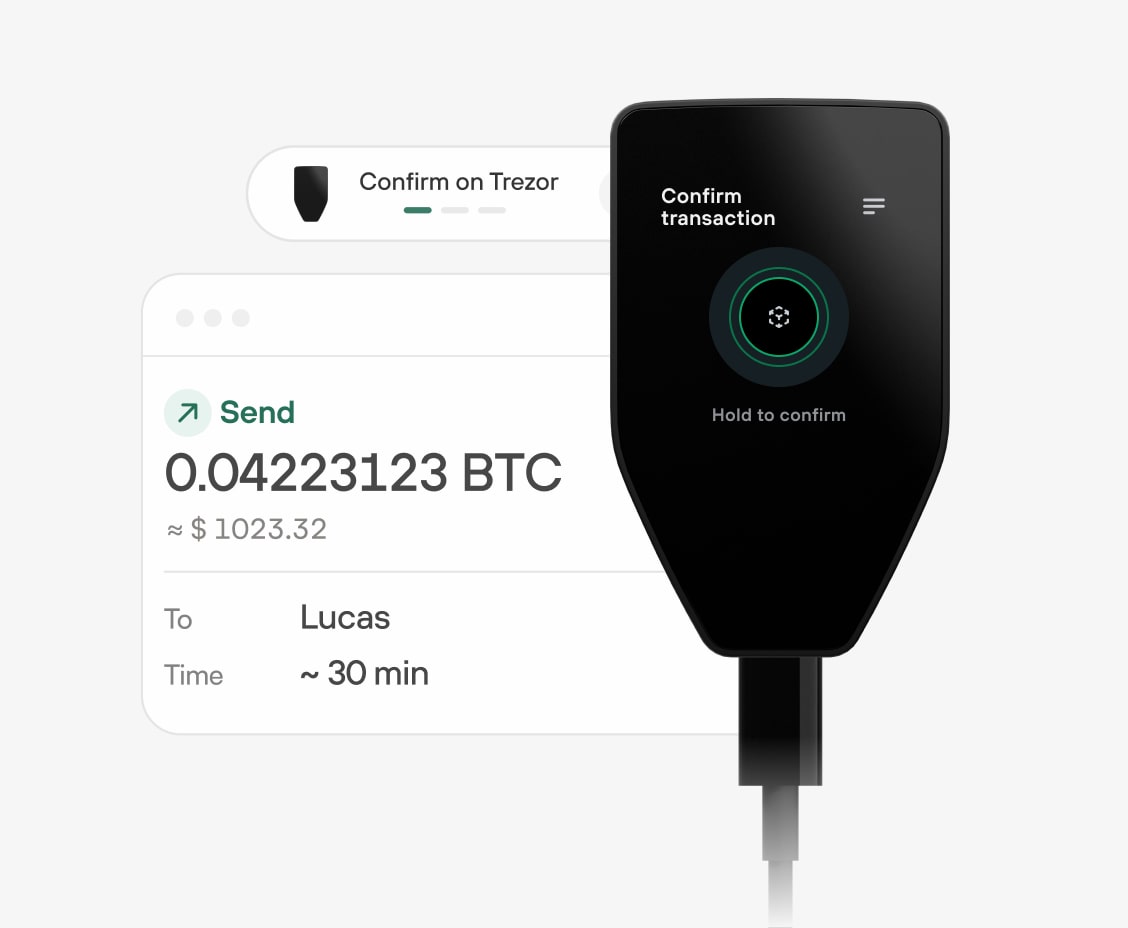
Step 3: Setting Up Your Wallet
Once the software is installed, go to Trezor.io/start and follow the on-screen instructions to set up your wallet. Make sure to write down your recovery seed and store it in a safe place. Never share your recovery seed with anyone.
By following these steps, your Trezor device will be set up and ready to use. For more detailed instructions and troubleshooting, visit Trezor.io/start.
How to Set Up Trezor Wallet
Setting up your Trezor Wallet is a straightforward process, but it requires careful attention to ensure your cryptocurrency is secured. Begin by unboxing your Trezor hardware wallet. Inside, you will find the device itself, a USB cable, and a recovery seed card. Connect the Trezor wallet to your computer using the provided USB cable. Next, visit the official Trezor website to download the Trezor Bridge, which allows your computer to communicate with the Trezor device.
Once the Trezor Bridge is installed, follow the on-screen instructions to initialize your device. You will be prompted to create a new wallet or recover an existing one. If you are setting up a new wallet, the device will generate a unique recovery seed for you. It is crucial to write down this seed on the provided card and store it in a secure place. This seed is the only way to recover your wallet if your device is lost or damaged.
How to Create Trezor Hardware Wallet
Creating a Trezor hardware wallet involves setting up the device for the first time. After connecting your Trezor to the computer and installing the Trezor Bridge, you will be guided through the setup process. The device will generate a recovery seed, which is a 12 or 24-word phrase. This phrase is your wallet’s backup and should never be shared or stored digitally. Instead, write it down on paper and keep it in a safe place.
During the setup, you will also create a PIN code for the device. This PIN adds an extra layer of security by requiring it each time you access the wallet. Once your PIN is set, and the recovery seed is secured, your Trezor hardware wallet is ready for use. You can now start transferring your cryptocurrencies into the wallet, knowing that they are stored safely offline.
Find Trezor Suite App
The Trezor Suite is a powerful app that provides an interface to manage your cryptocurrencies securely. To find the Trezor Suite, visit the official Trezor website and navigate to the download section. The app is available for multiple operating systems, including Windows, macOS, and Linux. Select the appropriate version for your system and download the installation file.
Once the Trezor Suite is installed, open the app, and connect your Trezor device. The Suite offers an intuitive interface where you can check your account balances, send and receive cryptocurrencies, and manage your assets. The app also includes advanced features like coin control, enabling you to manage your UTXOs, and the ability to interact with third-party services while maintaining your privacy.
Log in to Trezor Bridge App
The Trezor Bridge app is essential for establishing a connection between your Trezor device and your computer. After installing the Bridge, logging in is a simple process. Open your web browser and connect your Trezor device to your computer. The Bridge app will automatically detect the device and prompt you to log in.
When logging in, you will be asked to enter the PIN you set up during the initial setup. This step ensures that only you can access the wallet. Once logged in, you can manage your cryptocurrencies directly from the browser, whether you are using the Trezor Suite or another compatible wallet interface. The Trezor Bridge app plays a crucial role in maintaining a secure connection between your device and the online world, ensuring your assets are protected.